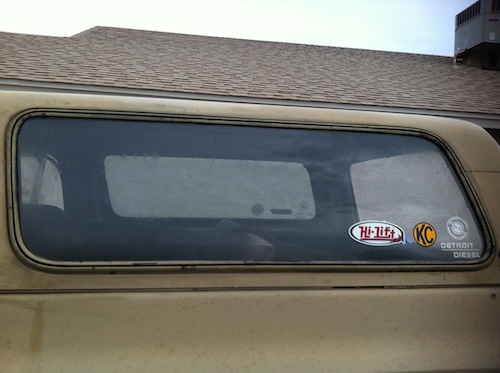
K5 Blazer Windshield & Rear Side Glass Removal / Install / Leak Repair
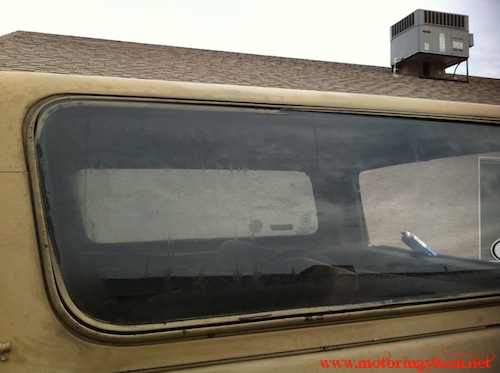
The windshield and glass in the topper sides of my cucv (k5 blazer) has always leaked when it rained. I just repainted the floors to prevent them from rusting and decided it was time to reseal the glass so it no longer leaks into the floors. Removing and installing the glass in any of the K5 blazers is very easy and can be done in a matter of minutes. To seal my windows I used Henry 209 sealant for some extra insurance, but usually just cleaning the 20+ years of dirt and grime out of the seal will stop the leaks.
Tools:
- WD-40
- Engine Degreaser
- Wire Brush
- Plastic Pry Tool or Some other flat pry tool (I used a flat-blade screwdriver, but recommend against it as there is a VERY high chance of cracking the glass)
- Lock Ring Installer Tool
- Henry 209 (Optional for Sealing)
Glass Removal:
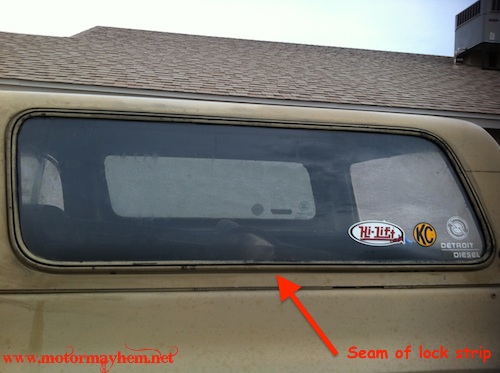
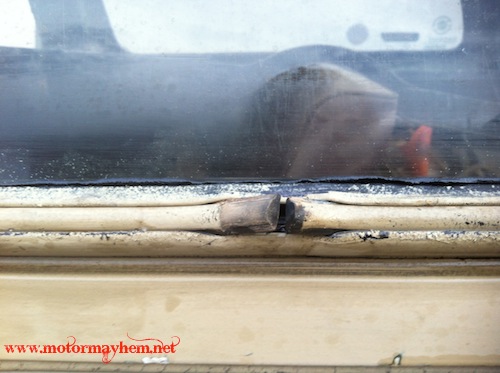
Step 1: Locate the seam of the lockstrip (usually at the bottom center of the window gasket). Typically, there will be a small metal clip covering the seam.
Step 2: Carefully pry metal clip out of gasket material
Step 3: Pull lockstrip out of gasket
Step 4: Pry or press (windshields are even more fragile so pressing with an open palm very carefully is recommended) corner of window out and carefully work window out of gasket.
Step 5: Now that the window is removed, pull the gasket away from the top and use your wire brush and degreaser to clean both the lip the window rides in as well as the lip the top rides in of all dirt, grime, and whatever.
Sealing Gasket (Optional): This step is optional, but I opted to add a little extra insurance to know my windows wouldn’t leak. Before reinstalling the gasket I ran a bead of sealant inside where the top sits and where the window glass sits in the gasket and another bead where the gasket sits in on the top.
Glass Installation:
Step 1: Slip gasket back over fiberglass in topper
Step 2: Place base of window into gasket making sure it slips into the lip inside the gasket.
Step 3: Now pick one side of the window and carefully use your pry tool to work the lip of the gasket over the window. If you did not use sealant, WD-40 will make the gasket slide over the window much easier reducing stress on the gasket and making it easier to install.
Step 5: Slip two ends of lockstrip into the metal clip and press back into the groove in the gasket.
Thats it!
Tags: blazer, camper, chevrolet, chevy, cucv, fix, gasket, glass, k5, leak, m1009, rain, rear, repair, replace, replacement, side, top, topper, window, window removal, windshield
Monday, July 22nd, 2013 at 20:37 • Automotive Information • RSS 2.0 feed • leave a response or trackback


