Blazer Radio Install
New style radios will not fit in many older blazers because the size of the head unit has changed since the creation of the knob and tape-deck players of the 80’s. Installing a modern radio is not very difficult, even if your truck never had a radio or speakers like my m1009. I decided to make this how-to after the installation, so I apologize for the limited amount of in-the-process pictures.
Tools:
- Die grinder with cut-off wheel
- File
- Wire Cutters/Crimpers
- Drill with 1/4″ drill bit
- Screwdriver
Materials:
- 14 gauge wire-approximately 50ft
- Butt Connectors
- Spade Connectors
- Ring Connectors (Large enough to go over the bolt of the battery terminal)
- Speakers
- Head Unit (Radio)
What to do:
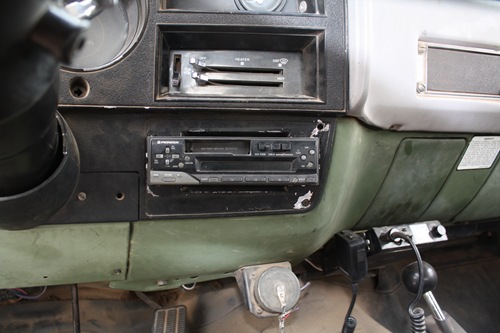
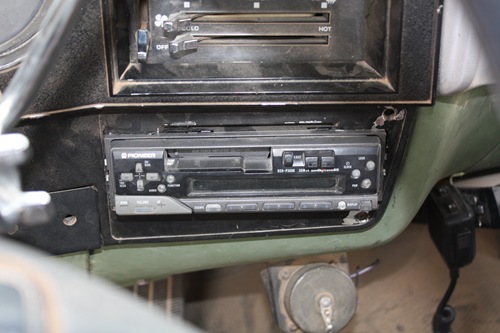
First you will need to make room to install the head unit. I accomplished this by holding the head unit to the dash where I was going to install it and scribing the outline of it with a screwdriver into the plastic of the dash so I would know where to cut. It turns out that the width of the stock radio hole was the same for my new radio so all I needed to do was use my die grinder to cut the hole in the dash a little wider. I purposely cut the hole a little smaller and used the file you reach the correct size so it was exact and I didn’t have a gap around the radio.
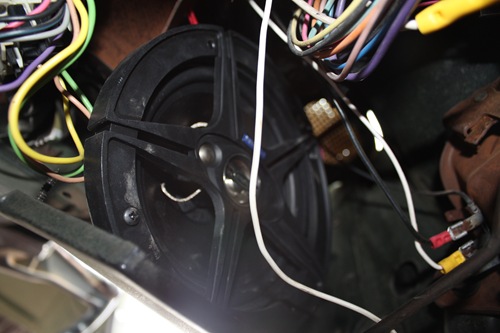
Once the head unit was installed it was time to install the speakers. I wanted something that was out of the way and didn’t leave me with big ugly hoes if I decided to remove them. I decided to put them close underneath the dashboard out of site. This location proved to be a great spot and the sound quality isn’t bad.
My left channel speaker is mounted right under the headlight switch behind the steel dash panel
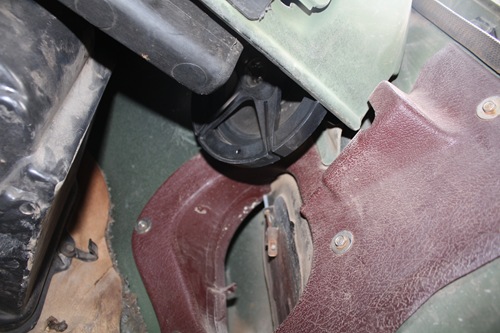
The other one is mounted to the inside of the quarter panel right above the vent on the passenger side.
After mounting the speaker and head unit it is time to wire it up.
The first thing you need to do is find a wiring diagram for your specific radio because different manufacturers are different. However, the requirements of each radio are the same. You will need a 12VDC constant power, a 12VDC ignition switched power, a + and – wire for each speaker. The 12VDC constant power is important because the radio uses this to remember settings, presets, and volume. The 12VDC ignition switched is used to tell the radio when go on and off. This is how the radio shuts off and comes on automatically when you turn the key on. If you want you can run the switched wire to the 12VDC constant source, however you will need to turn on and off the radio manually every time.
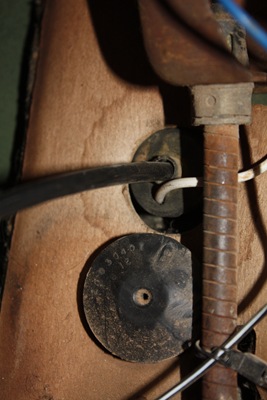
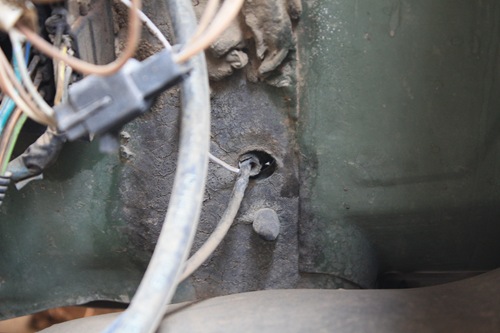
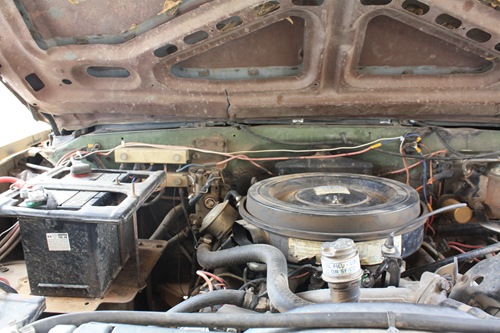
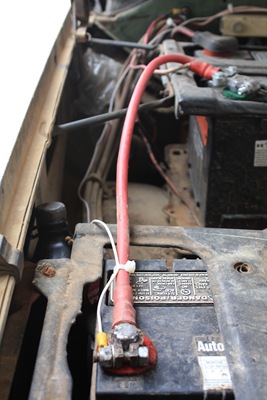
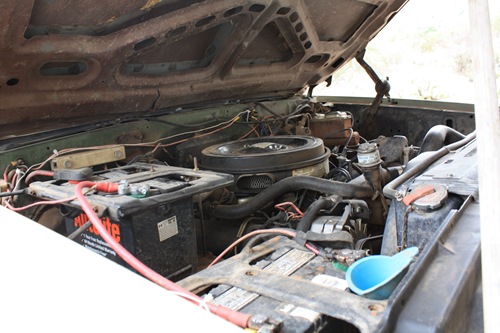
I ran my constant 12VDC wire straight to the battery as I didn’t have any 12VDC constant power sources in the cab or fuse block. To keep the cab sealed from the weather I ran the wire through the hole I drilled in the grommet used for the hood release latch cable passing through the firewall. Then I just ran it along the firewall to the battery cable.
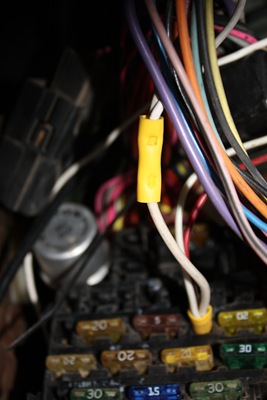
The 12VDC switched power was just taken from a switched power source I found in the fuse block.
The final step is wiring the speakers. I simply ran the wires under the dash to the speakers. Be careful to make sure the positive runs to the positive terminal on the speakers and that both speakers are wired the same. If you don’t wire them the same then the sound quality will be reduced and it may sound funny.
Tags: blazer, diagram, face, half, install, mounting, new, radio, style, wiring
Friday, June 5th, 2009 at 19:36 • K5 Blazer • RSS 2.0 feed • leave a response or trackback
Tks…
Great information! I’ve been looking for something like this for a while now. Thanks!…
[…] is how I did my tape deck. Motor Mayhem
[…] me about an hour to do. Motor Mayhem
[…] instructions for putting a civvy radio in and not cutting up much of the doors or dash. Motor Mayhem